Camera
This is the tool that captures the video from your creator, but it is a lot more than that. Here you can add overlays, text, and music. Sequence the layers inside the Timeline. Provide clear instructions to your creators on how to make the best video.
Camera is the most important tool in your campaign. Configure and utilize it to meet your campaign goals by being as specific as you would like the final UGC to be.
Campaign video duration
To change video duration:
Navigate to Scene panel on the right side.
Change the video duration under Video Duration.
The maximum allowed duration is 90 seconds
Timeline
At the bottom of the Camera screen, you will find the Timeline. You can sequence, set the duration of, and loop your overlays.
The order of layers from top to bottom of the Timeline defines which layer is on top of (or visually blocking) which layer (z-order). You can also drag the layers or their ends to adjust z-order, duration, and overlap.

HINT: To delete the layer faster just click on it and press the ‘Delete’ button on your keyboard.
Timeline play/pause Button
Take full control of video playback directly on the timeline, allowing for a more precise and interactive viewing experience. Effortlessly pause and resume playback as needed to fine-tune your edits with ease.
Customizable Elements
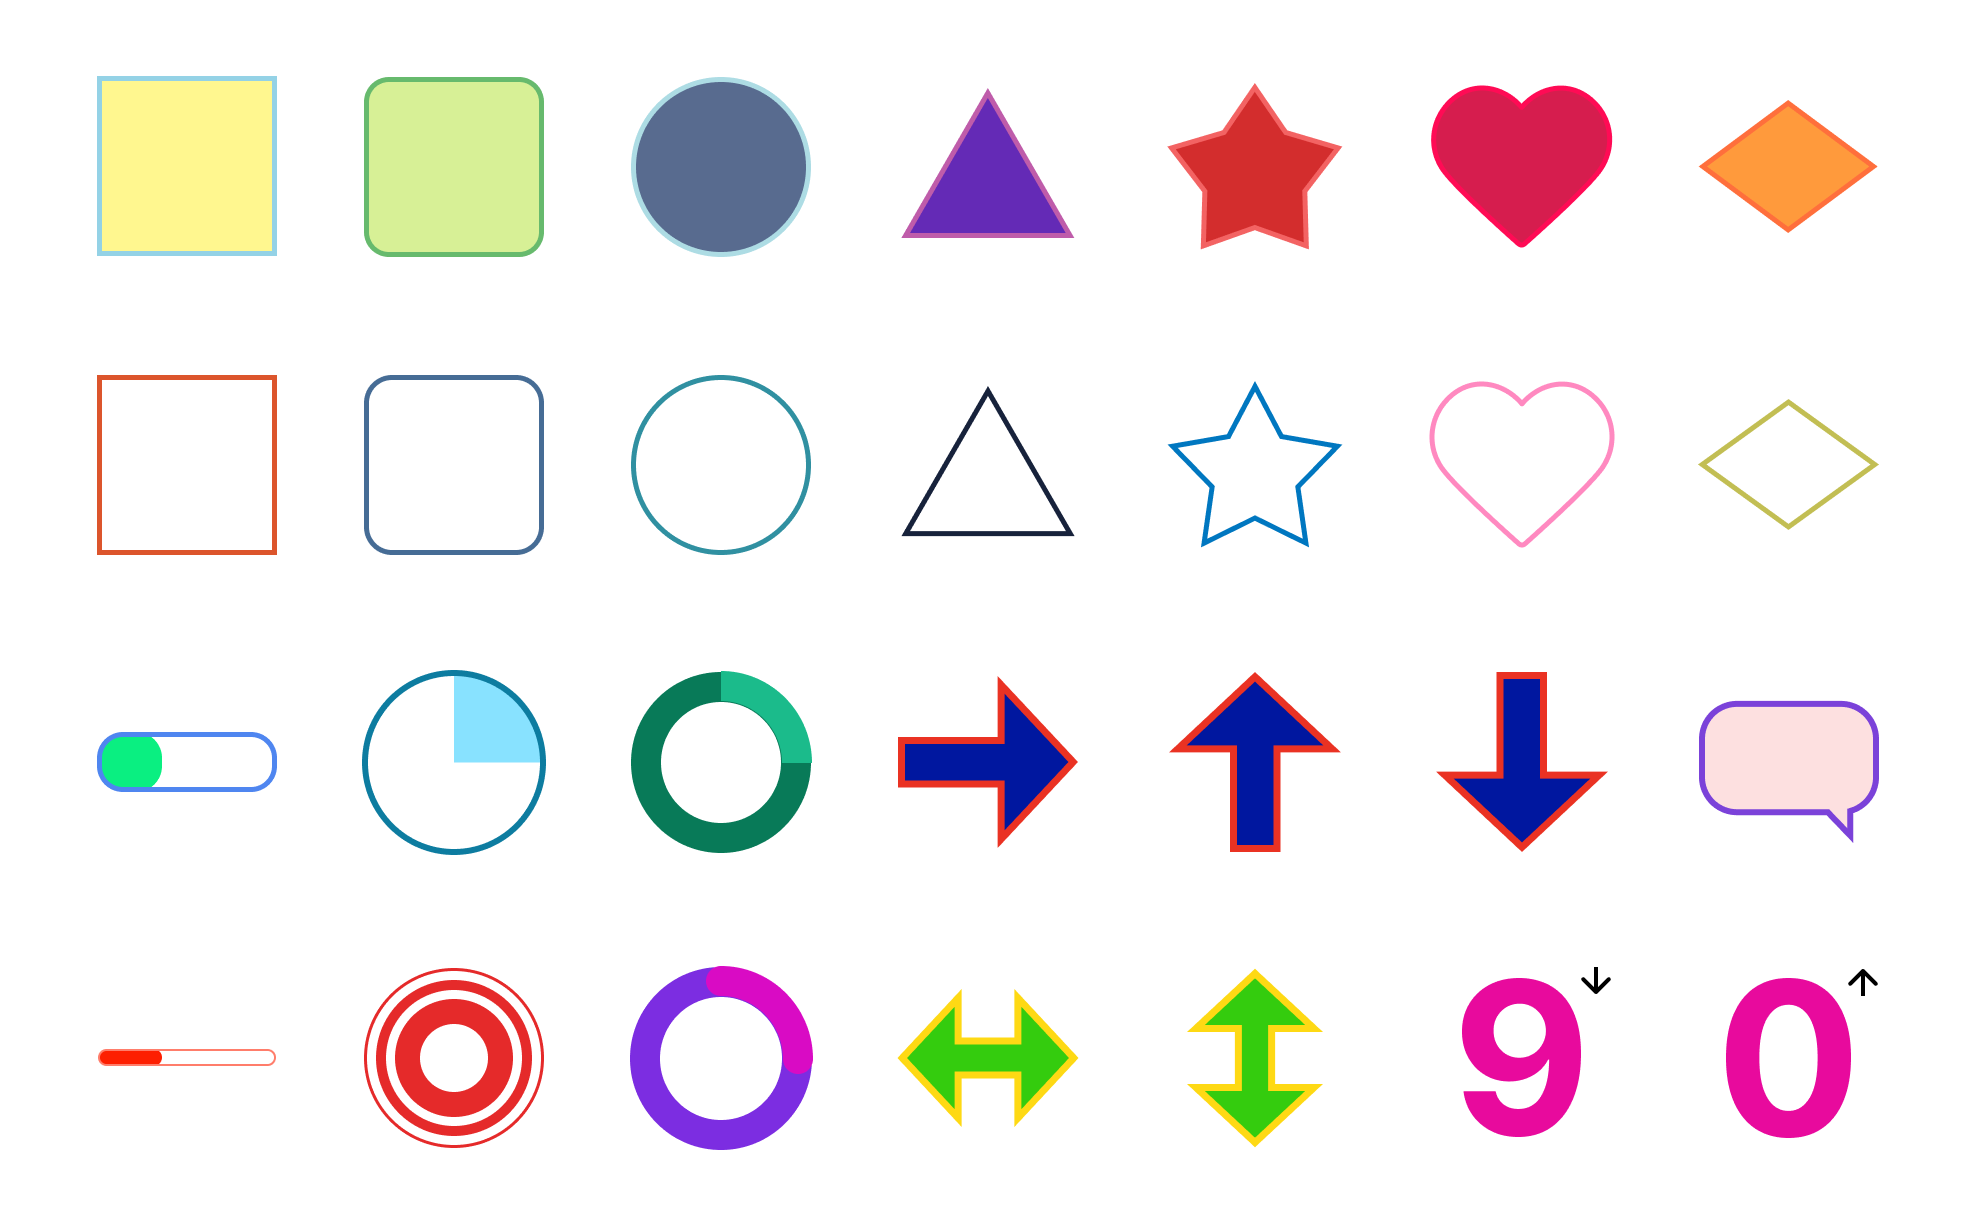
Use various shapes on the camera page to design or instruct your creators. Customize every aspect, including width, color, and more.
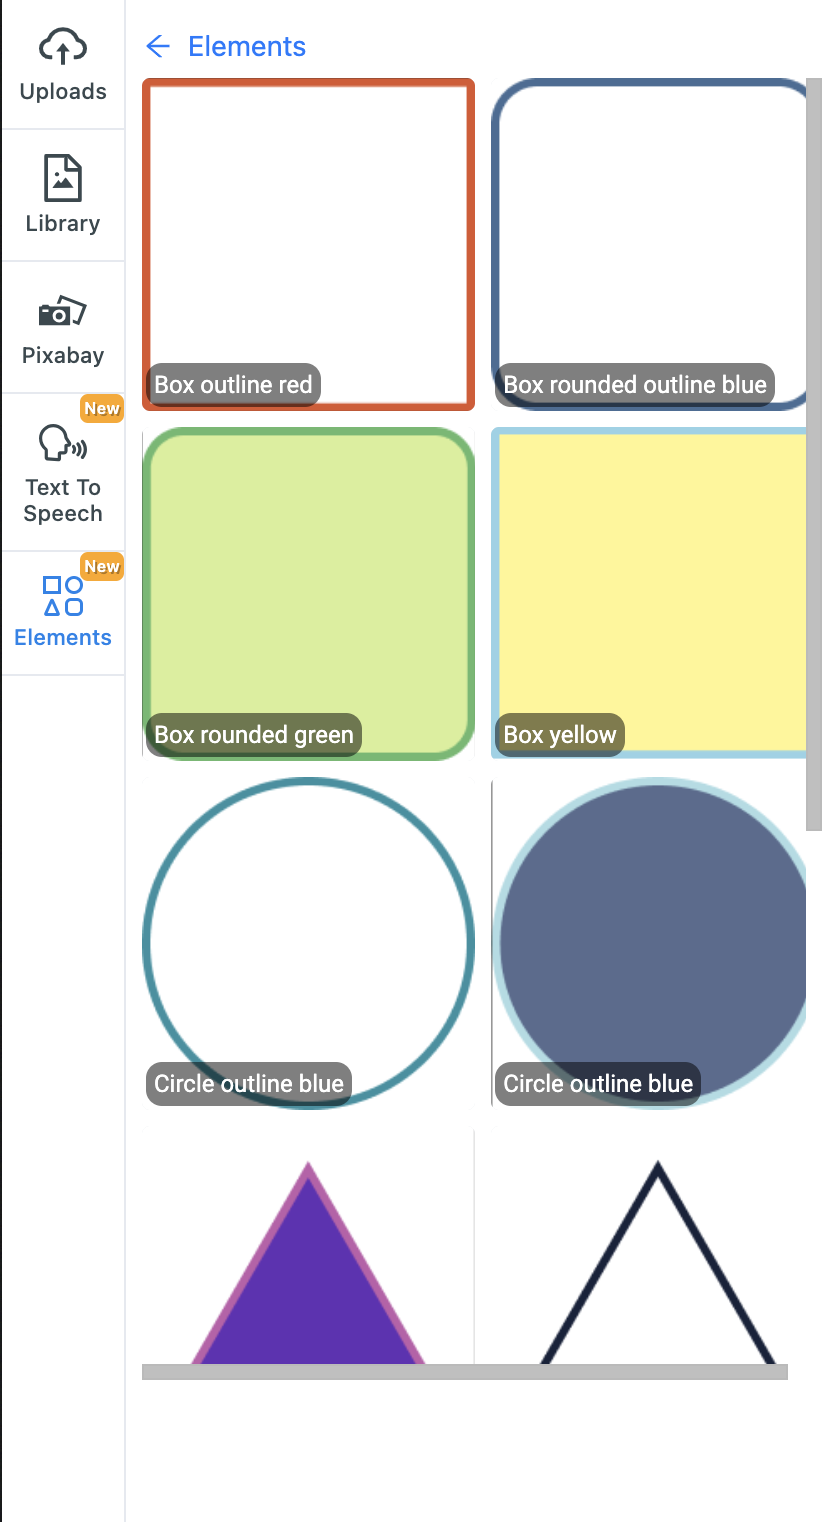
How to add on-screen instructions
You can turn overlays into non-recordable layers. This is very useful when you want to visually instruct creators what to do without the on-screen instruction appearing in the final video.
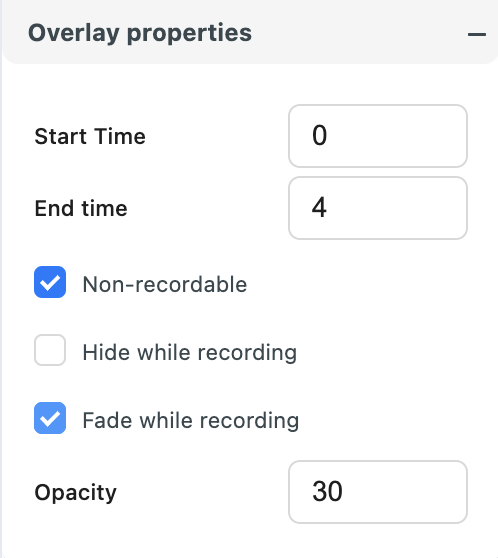
To make overlays Non-recordable:
Select the overlay that you want to make Non-recordable
In the right-side panel select the Overlay Properties tab
Click on the Non-recordable checkbox
You can also fade the overlays while recording and change its opacity. The overlays will fade back when 100% opacity when the recording is stopped.
Media file type support
Images
jpeg, png, tiff
Videos
mp4, mpeg, webm, avi, mov(Alpha transparency is supported)
Audio
mp3, aiff, aac
Audio as an Overlay
Put multiple audio tracks onto your timeline, with the option to make them recordable or not. Enhance your content with versatile audio options, adding depth and creativity to your projects.

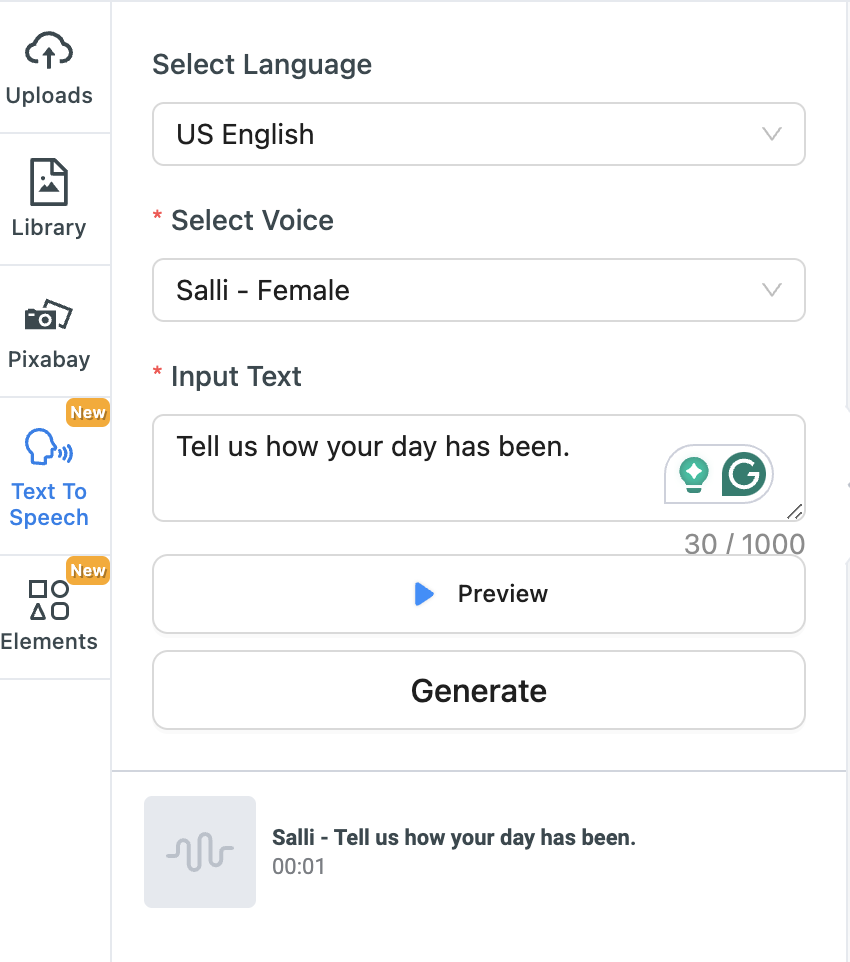
Al Text to Speech
Transform your text into speech in 38 languages, featuring over 96 distinct voices. Utilize these audio overlays to enhance your content creation process.
You can use them as part of a video or to instruct (with an option to make the audio non-recordable) your creators what to do.
Here are the steps to generate speech:
Click Add Media Layer
Choose Text to Speech
Fill in the necessary information and click Generate
Pre-set Timer
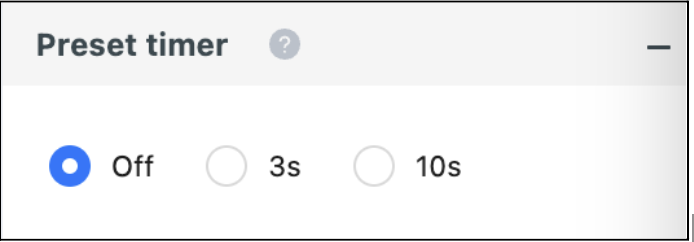
Set a pre-set countdown timer to help creators get ready for shooting.
